

I can’t even tell you how excited I am to have found an easy way to peel hard-boiled eggs. We usually celebrate Easter at our house by going to church, and then having a big Easter dinner with lots of family, and an egg hunt for the kids. I love tradition so every year I fix the same foods (with the help of my wonderful mom) which includes deviled eggs. They seem like the perfect Easter appetizer.

Until you try to peel them. Some years it has literally taken hours to get those pesky shells off. Not fun when there are so many other things to do to get a holiday meal on the table. That is why I will be forever grateful to Emily at Emily’s Homestead for a completely different method for cooking the eggs which results in the egg peels almost sliding off. I have tried so many different methods that sounded promising, but didn’t really work. This one does. I am almost giddy with happiness. Another 2 hours in my day. I’d call that an Easter miracle!
The secret to successful peeling is to steam the eggs for exactly 17 minutes.

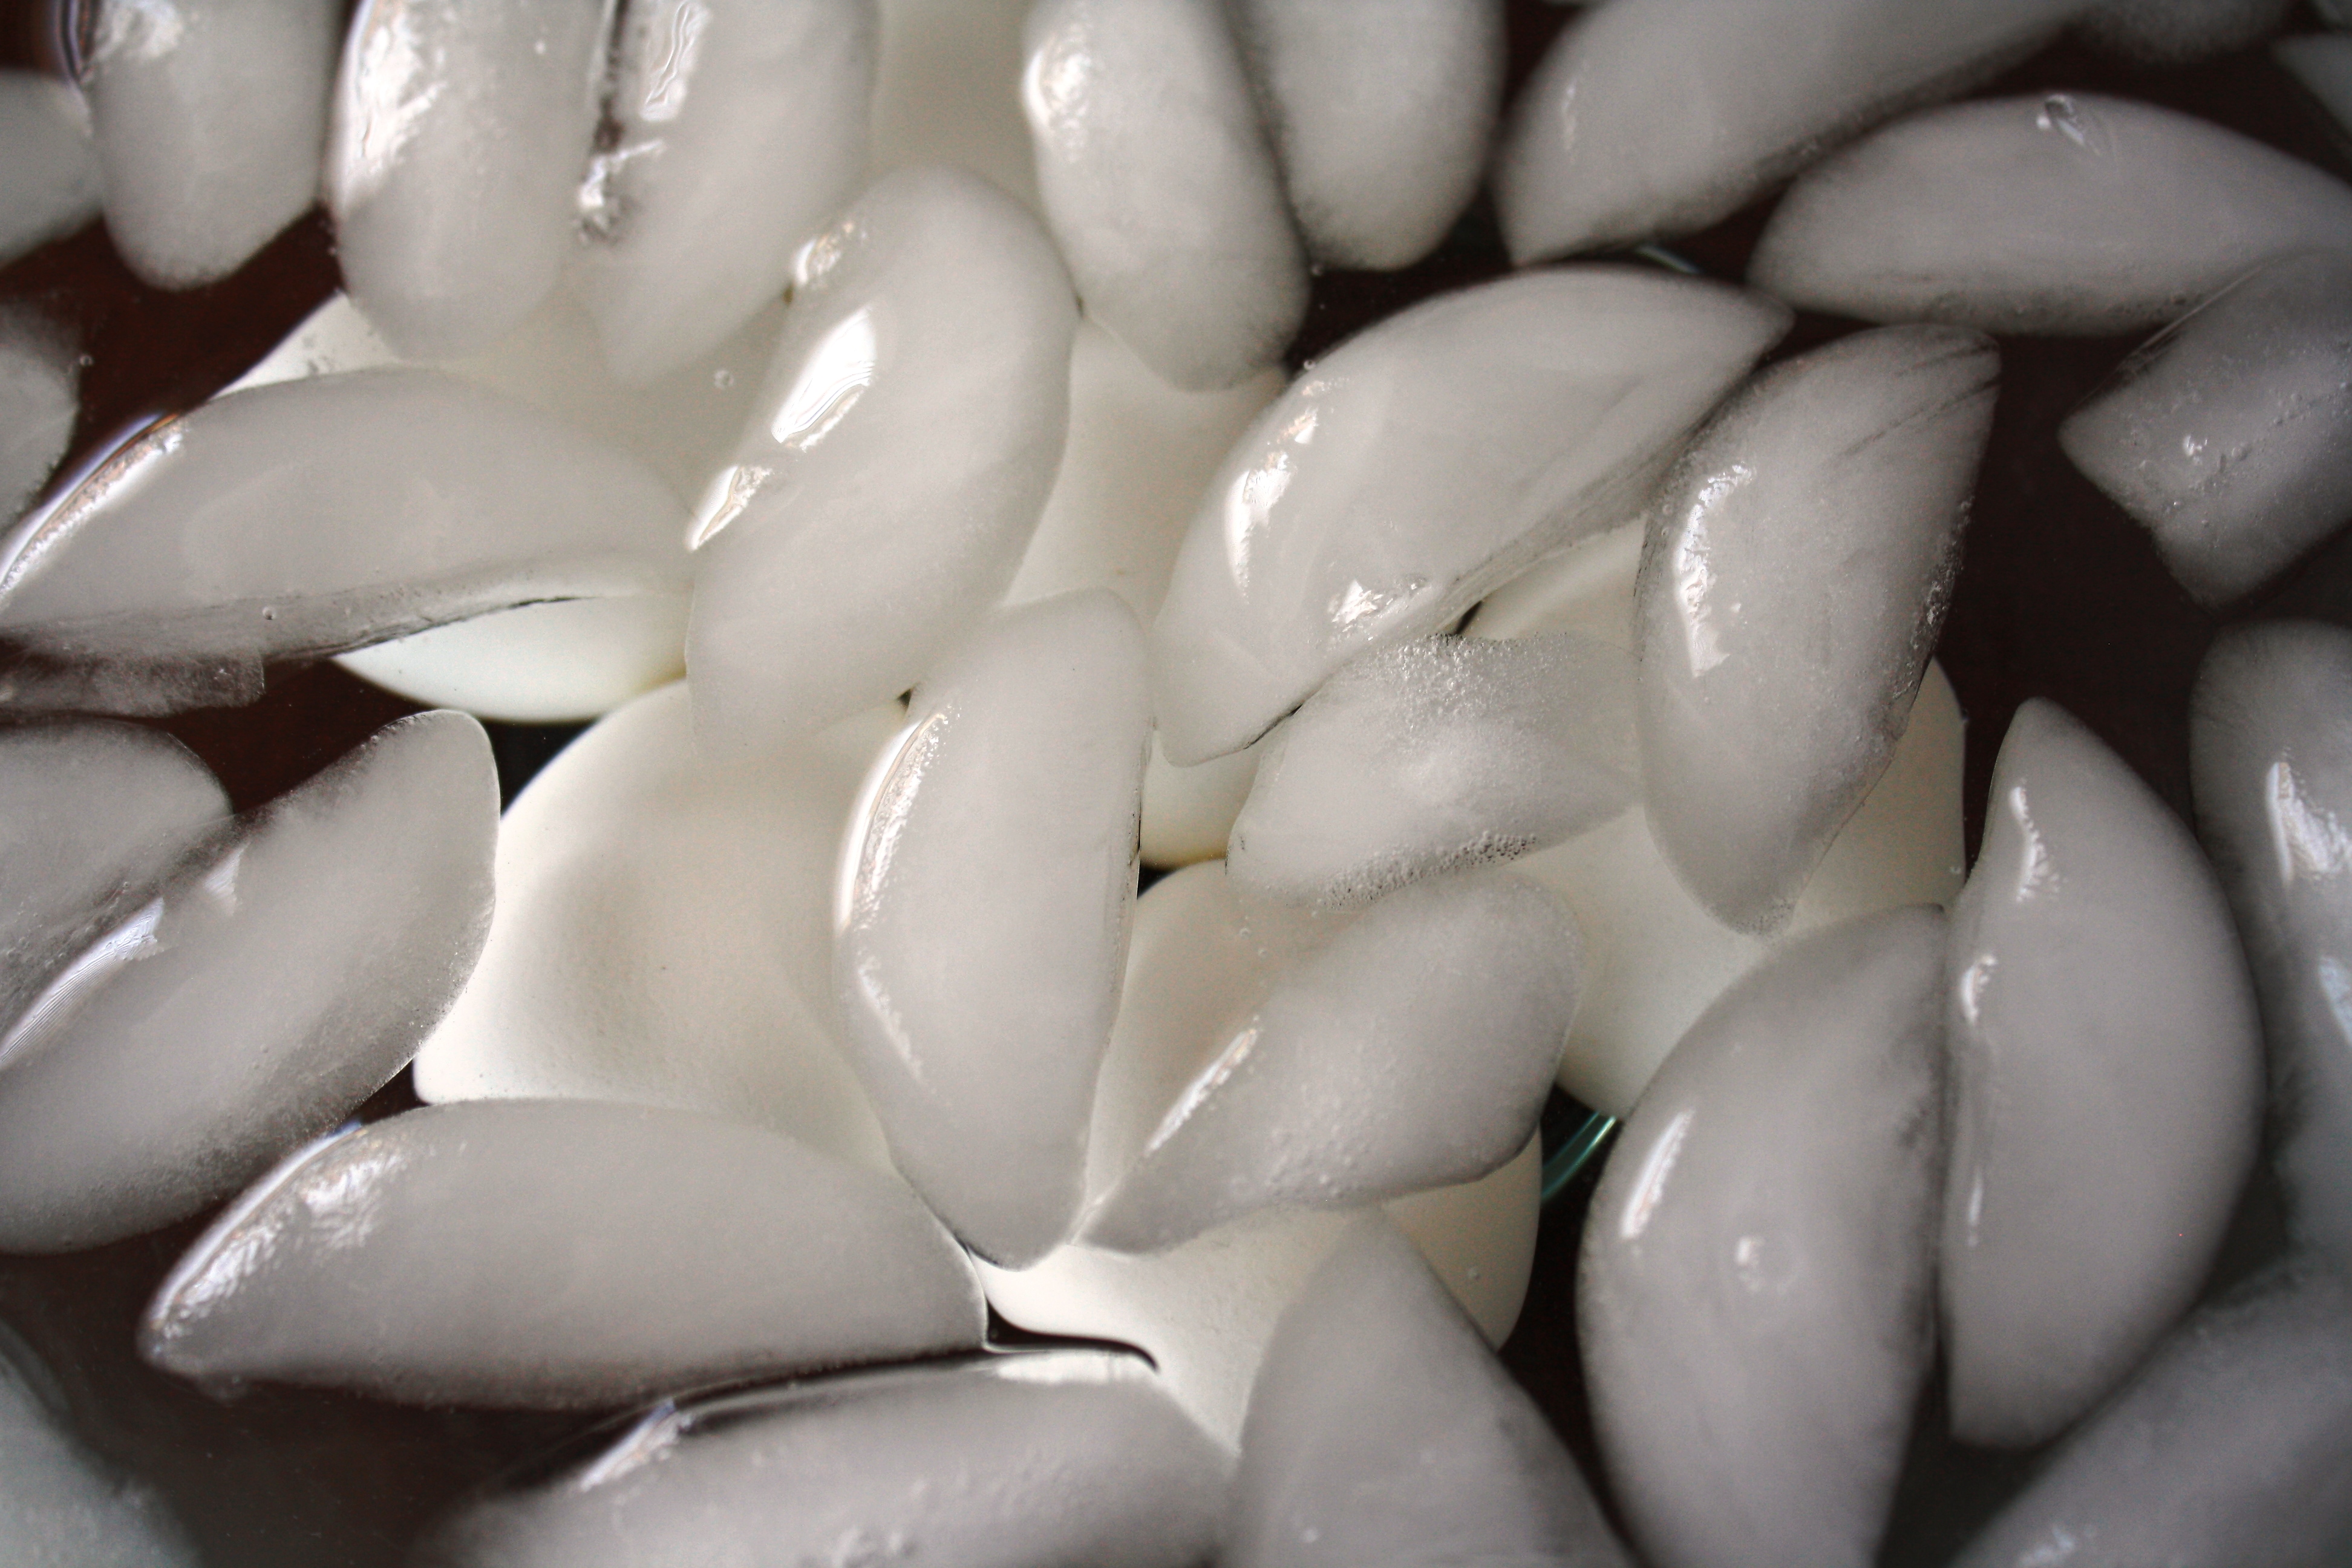
I have a steamer, but you can also just use one of those steamer inserts that you place inside a pan of boiling water. Once the water is boiling, place your cold eggs in the steamer and steam for exactly 17 minutes. When the timer goes off, take the eggs out and immediately place in a bowl of ice water.
If you steam them for exactly 17 minutes, you don’t get green yolks. They will be bright yellow, and make the prettiest deviled eggs instead of deviled eggs that look like they were leftover from St. Patrick’s Day because of the greenish colored yolks.

I found out after trying this method several times, that the eggs are easier to peel the warmer they are so don’t wait for the eggs to cool. Start peeling them right away. Leave the eggs in the ice water, but take one out at a time and peel it. The warmer they were, the easier they were to peel, but the ice water is necessary for them to stop cooking and the yolks to stay yellow. Another great thing about this method is you have perfectly smooth egg whites instead of all the gouges in them from fighting with the peel.

After peeling, give them a quick rinse, slice in half, and pop the egg yolks into the bowl of a stand mixer. Beat on medium slow speed for a couple of minutes to break up the yolks. Then add the other ingredients and mix until smooth. If you break up the yolks first, you end up with a smoother egg mixture. You can either scoop the mixture back into the egg halves with a spoon, use a baggy with a hole cut in one end, or a piping bag. The baggy or the piping bag are definitely the quickest method. It takes just a few minutes to fill 24 egg halves. Sprinkle with paprika, chives, or parsley to garnish. If you cover well with plastic wrap, these will keep over night in the refrigerator and you won’t have to be rushing around at the last-minute filling eggs.

The next time you need to make deviled eggs, give this method a try. I hope it gives you a little more time to relax and makes your holidays even happier!
Classic Deviled Eggs
- 12 hard-boiled eggs (bring water to a boil in a steamer or pan with steam insert, place eggs in steamer, cook for 17 minutes, and plunge in ice water before peeling right away)
- 1/2 c Best Foods mayonnaise or your favorite brand
- 2 tsp. vinegar
- 2 tsp. mustard
- 1/4 tsp. salt
- chives, paprika, or parsley to garnish (optional)
- Halve hard-boiled eggs lengthwise.
- Pop out yolks and place in the bowl of a stand mixer.
- Mix yolks at medium low-speed for a couple of minutes to break up.
- Add mayonnaise, vinegar, mustard, and salt to yolks. Mix at medium speed until smooth.
- Using a spoon, plastic baggy, or piping bag, place egg yolk mixture into holes of egg halves.
- Sprinkle with chives, paprika, or parsley if desired.
- Cover with plastic wrap, and refrigerate until ready to serve.
- Refrigerate any leftovers.
Recipe from Cook AZ I Do, originally found in Better Homes and Gardens New Cookbook, 1985, page 196


Reblogged this on Makensy Smith Communications and commented:
mmm.
Thanks so much for reblogging this, Makensy! I appreciate the support, and hope the tips help your readers.
I love deviled eggs! Thanks for the helpful peeling tips! 🙂
You’re welcome, Nancy! I love them, too. This is such a great recipe for what I think of as traditional deviled eggs. Thanks for your comment!
Easter is fast approaching and eggs are on the menu. Wonderful! thank you for sharing your Deviled Egg recipe. Yum! 🙂 🙂 Happy Easter
You’re so welcome, Milanka! Happy Easter to you as well! Thanks for stopping by.
You are welcome. 🙂 🙂
I completely agree with you Shari, regarding the easy shelling of boiled eggs. The only thing that I do differently (and it is truly that much different) is instead of ice cold water (that surely does the trick and that I’m going to use this week of Easter) is to run the boiled eggs under cold water while at the same time, remove the shell. I think it is the COLD water that’s the magic bullet! Deviled eggs are such a classic for Easter, summertime, and picnics in my family! Since my daughter and her family are coming for the Holy Day weekend, you have kindly reminded me of what I need to put on the table! Thank you so much, Shari!!!
Buona Pasqua (Happy Easter) and all of the fun festivities that go along with Easter,
Roz
oops . . . typo! I mean to say that it is NOT that much different in method. sorry!
No problem! I thought that’s what you meant.
That is great that you will get to be with your daughter and her family for Easter, Roz! I am going to have to do a comparison test when I do my next batch of eggs and try peeling them under cold water. As long as there is something that works so you don’t have to spend hours peeling, I’m for that!:) I think I will make them more often now that I have found a method that works for me. I hope you have a wonderful Easter!
I’ve never steamed them, but I do think that plunging in water is the key to peeling. I will try steaming with our Easter Eggs this year!
I had never heard of this method before, until last year when I tried it. It was such a pleasant surprise that it worked. I hope it goes well for you and that you and your family have a wonderful Easter, Diana!
Great tip Shari and the proof that it works is your gorgeous eggs. They could be in a magazine they are that perfect. I always plunge in ice cold water to aid in peeling but never tried steaming. Next time will do that.
Thank you so much for your kind comment, Suzanne! I was pretty much giddy over this method working so well. I have tried it 3 times, just to make sure it wasn’t a fluke. I really appreciate you stopping by!
Shari, Devilled Eggs are one of my all-time faves! Thank you so much for posting the tips on how to peel the egg. One thing that always gets me is trying to peel the shell, and you end up putting a crack in the boiled egg. (I always put those aside for my private snacking…which means there’s never really very much for anyone else.)
I’m looking forward to trying these again with this new method.
You are welcome, Ruth! I love them, too. I know exactly what you mean about having cracks and holes in the eggs after you peel them. It is so much effort and then they look awful after all that work. So frustrating – except for the fact that you have a lot of eggs for private snacking!:) I hope this method works out well for you!
What a cool technique!! I’m totally doing my eggs this way from now on! Lovely, lovely spring devilled eggs!!
Thanks so much, Barbara! It really is cool. I hope it works out well for you. I appreciate you stopping by!
! Very timely! Just earlier this week I’d tried yet another new way of peeling hard boiled eggs. Like you I’ve tried all kinds of things over the years. Admittedly, on many occasions I’ve gotten half way through the peeling process and have flat out ditched the elegant deviled egg attempt and fallen back on Plan B: egg salad (I maintain that failed deviled eggs is how egg salad was invented). I’m looking forward to giving your method a try.
I really hope this works out for you, Ginny! I’ve tried it 3 times with success. I agree, that must be how egg salad was invented!:) I have been peeling eggs at 2 in the morning in years past and just wanted to ditch the process, too. Especially when they come out looking like the surface of the moon! You’ll have to let me know how it goes.
I love deviled eggs! I am going to have to try your tips. Sometimes I have a heck of a time getting them out of the shells!
I love them, too, and now I will make them more since it is not a 2 hour process to get them on the table. I hope it helps next time you make them, Julie. Thanks for your comment!
Thanks Shari. I am even thinking of making them for Easter even though there are only 4 of us this year.
I hope you have a great day, Julie!
Now that’s what I call deviled egg perfection, Shari! The egg whites look amazing… as do the beautiful yellow yolks! Isn’t it rewarding to finally master hard boiled perfection? 🙂
Thanks so much, Nancy! What nice compliments. I am just so glad to not have to spend that much time on them. It was usually at 2 in the morning!:) I hope you have a wonderful Easter!
Enjoy your Easter too, Shari…Thank you!
I’ve tried this before, and it is the easiest way to peel them. If we have to peel hard boiled eggs from the fridge, we always run them under warm water for a minute or two. It really does make a difference when they are warm.
It was such a surprise to me that peeling them when they were warm seemed to work better. Although you do have to leave them in the ice water long enough to stop the cooking so they won’t turn green. I have gotten great feedback that everyone who has tried the steaming method has been happy with how they turned out. Thanks for your comment, Jenny!